
Introduction2. Install Nginx using the package manager3. Verify the Nginx installation4. Enable the Nginx service to start automatically on boot 5. Verify the installation by navigating to 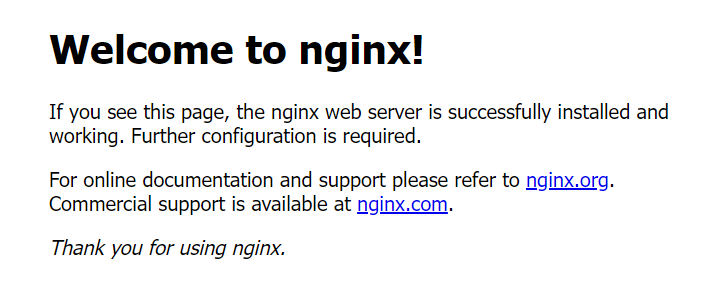
This guide explains how to install and configure Nginx on Ubuntu, including updating system packages, installing Nginx via the package manager, verifying the service status, enabling Nginx to start automatically on boot, and confirming the installation through the default landing page.
Steps1. Update and upgrade the packages sudo apt update && sudo apt upgrade
sudo apt install nginx
sudo systemctl status nginx
      ● nginx.service - A high performance web server and a reverse proxy server
       Loaded: loaded (/lib/systemd/system/nginx.service; enabled; vendor preset: enabled)
       Active: active (running) since Wed 2024-07-10 03:09:58 UTC; 2min 36s ago
         Docs: man:nginx(8)
     Main PID: 39338 (nginx)
        Tasks: 2 (limit: 1131)
       Memory: 6.2M
       CGroup: /system.slice/nginx.service
               ├─39338 nginx: master process /usr/sbin/nginx -g daemon on; master_process on;
               └─39339 nginx: worker process

  Jul 10 03:09:57 ubuntu-s-1vcpu-1gb-sgp1-01 systemd[1]: Starting A high performance web server and a reverse proxy server...
  Jul 10 03:09:58 ubuntu-s-1vcpu-1gb-sgp1-01 systemd[1]: Started A high performance web server and a reverse proxy server.
sudo systemctl enable nginx
      Synchronizing state of nginx.service with SysV service script with /lib/systemd/systemd-sysv-install.
  Executing: /lib/systemd/systemd-sysv-install enable nginx
http://localhost and you should see the default Nginx landing page Tags
Previous postDebugging PHP with Xdebug and VS Code on Docker
Next postDeploy Nuxt 3 static site with Nginx